Are those freezing mornings in your Wrangler driving you nuts? A Jeep Jk Heated Seat Installation Guide can turn a miserable commute into a cozy ride. You do not need fancy tools or an electrical engineering degree to pull this off.
This project involves placing thin heating elements under your seats and running power wires to a simple dash switch. Most kits are designed as direct bolt-in upgrades for your 2007 to 2018 JK. You can stay warm on the trail without relying solely on your cabin heater.
Quick Answer
A Jeep Jk Heated Seat Installation Guide walks you through adding warmth to your seats. It involves placing thin heating elements under the seat foam. You then route power wires to a fused ignition source.
This DIY project usually takes a few hours for one person.
Why This Upgrade Matters for Your JK
The Jeep Wrangler JK was built for adventure, not necessarily for comfort in deep winter. The factory ventilation often struggles to warm your legs during early morning trail launches. Cold fingers make it hard to grip the steering wheel or work the shift lever.
That is exactly why upgrading your seating comfort matters.
- Heat keeps your muscles relaxed during long, slow crawls.
- You avoid the distraction of shivering while reading terrain.
- This upgrade extends your usable season for off-roading.
Adding heated seats transforms your vehicle into a year-round capable rig. It does not require a massive budget or a professional mechanic. The goal is straightforward: keep your body temperature stable so you can focus on the trail.
Many owners treat this as an essential mod alongside projects like a Jeep Commander Spacer Lift: Boost Clearance, Easy Install. When you are comfortable, you drive better and enjoy the ride more.
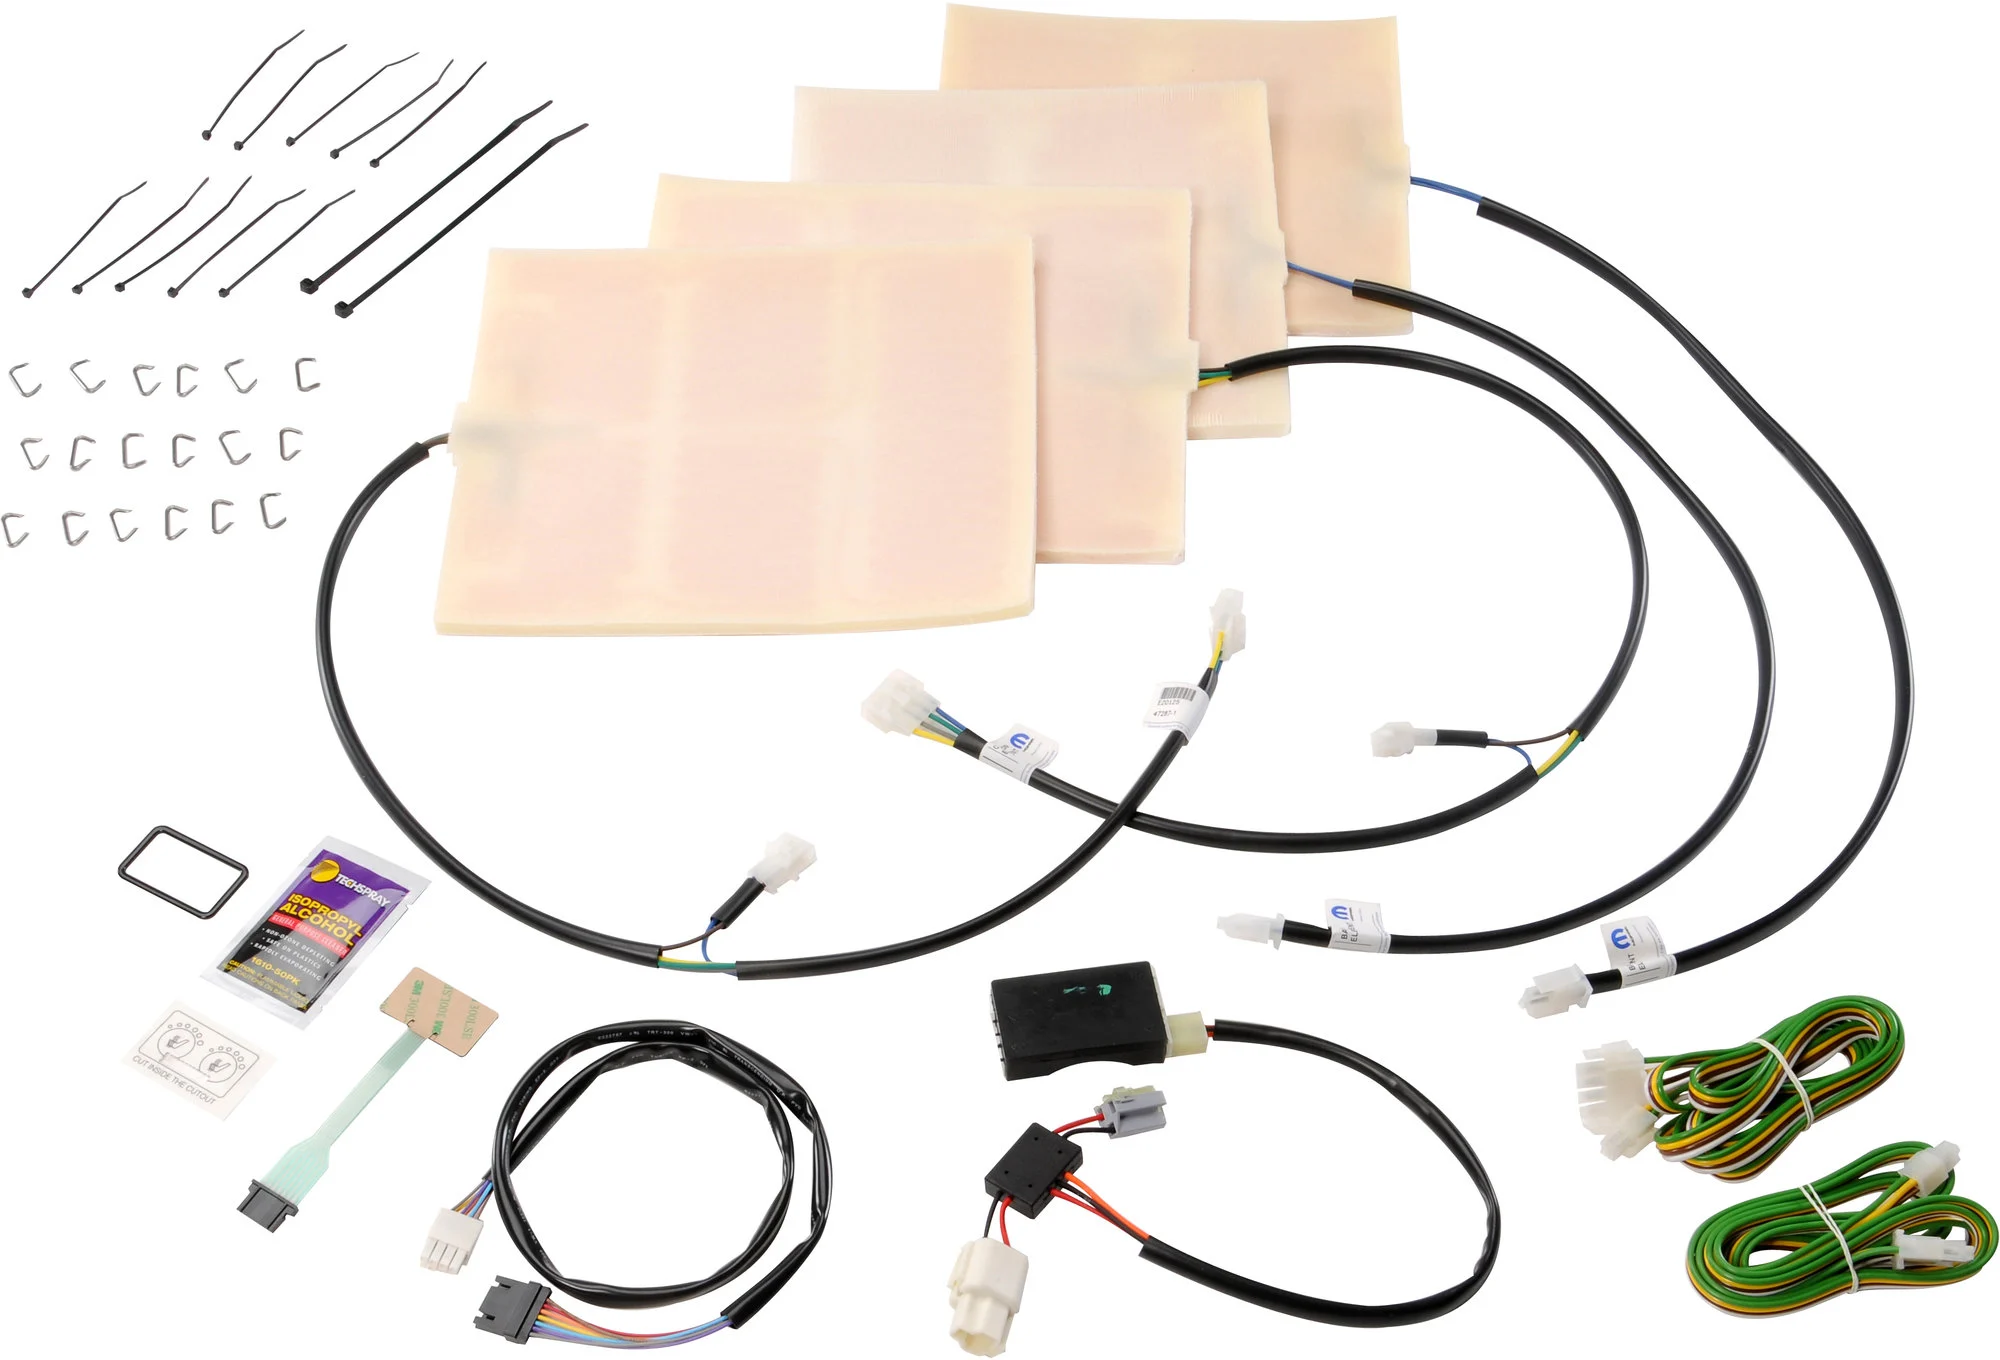
Image source: Bing (Web (fair-use with source credit))
The Two Main Routes: Factory-Style vs. Universal Aftermarket Kits
You generally have two paths when planning this conversion. The first is a universal aftermarket kit that gives you flexibility. The second is a tailored option designed specifically for your JK platform.
Understanding these options helps you pick the right path for your skills and goals.
Universal Aftermarket Kits
These kits are widely available and include everything you need for most vehicles. They typically come with self-adhesive heating pads, a wiring harness, and a control switch. You get cut-to-fit templates that let you size the pads to your seat shape.
This option works well if you want a solid upgrade without hunting for specific part numbers.
- Cost-effective for budget-conscious builders.
- Works with various seat materials and foam types.
- Often includes detailed instruction manuals.
- May require more creative wire routing.
Factory-Style or Plug-and-Play Options
Some manufacturers offer kits designed specifically for the JK platform. These often use a harness adapter that plugs directly into the existing seat connector. This method avoids cutting into your factory wiring loom.
It provides a cleaner look that feels like it came straight from the dealership. This route is ideal if you want seamless integration without modifying your original wires.
- Preserves your original wiring integrity.
- Offers a clean, professional aesthetic.
- Simplifies the wiring process significantly.
- Usually carries a higher price tag.
If you plan to reupholster your seats later, check whether your chosen kit works with the new material. Some universal pads are too thick for tight upholstery seams. Always read the full product specifications before committing to a purchase.
For similar technology upgrades, consider how this compares to a Jeep Compass Cruise Control Installation: Step-by-Step Guide. Both projects enhance your driving experience through modern convenience.
What’s Inside a Heated Seat Conversion Kit
Knowing what components you are dealing with helps you prepare for the install. Every kit contains a core set of items that work together to generate and control heat.
| Component | Purpose | Typical Material |
|---|---|---|
| Heating Element | Generates warmth inside the seat | Carbon fiber or conductive wire mesh |
| Wiring Harness | Connects elements to power and switch | Automotive-grade insulated wire |
| Control Switch | Allows you to adjust heat levels | Plastic housing with metal contacts |
| Fuse Holder | Protects the circuit from overload | In-line blade fuse holder |
| Adhesive Pads | Secures elements to seat foam | Heat-resistant double-sided tape |
The heating element is the heart of the system. These thin, flexible pads sit between your seat foam and the vinyl cover. They draw low amperage from your vehicle’s electrical system.
Most kits include a three-stage switch that cycles through low, medium, and high settings. High settings typically draw around two to four amps per seat.
You will also find connectors and spade terminals in the box. These make joining wires much easier than soldering every connection. Quality crimp connectors ensure your installation lasts for years.
Before you begin, lay out all the parts on a clean surface. This step prevents you from losing small hardware mid-project. It is also smart to review resources on Jeep Corner Guard 2026 for general mod preparation tips.
Step‐by‐Step Visual Guide: Removing the JK Seats
Removing the seats is the first physical hurdle. You need a safe workspace and the right tools to do this without damage. Always work on a flat, level surface to prevent the heavy seats from tipping over.
Tools You Will Need
- Socket wrench set with extensions and a ratchet.
- Trim panel removal tools to avoid breaking clips.
- Wire strippers and crimpers for clean connections.
- Multimeter for testing circuits and verifying power.
- Utility knife or hot knife for foam work.
The Removal Process
Start by disconnecting the negative battery terminal. This safety step prevents accidental short circuits while you unplug sensors. Use your socket set to remove the four bolts securing each seat to the floor rails.
Be careful when lifting. The seats are bulky and awkward to handle alone.
Once the bolts are out, gently slide the seat forward to access the wiring underneath. You will see a connector for the seat belt buckle sensor and possibly the side airbag module. Depress the locking tab and pull the connector straight off.
Do not yank on the wires themselves. Place the seat on a clean workbench or hang it temporarily out of the way. Repeat this process for the passenger side if you are doing both seats.
Take your time with the trim clips inside the door sill area. They can pop loose easily if you rush. Think about this like installing an How to Install an ARB Drawer System in Your Jeep JK, where careful handling protects your investment.
A methodical approach here saves hours of frustration later.
Step-by-Step Visual Guide: Preparing the Seat Cushions
This is the most critical visual step. How you place the heating elements determines your comfort and safety. You must integrate the pads into the existing seat foam without creating uncomfortable bumps.
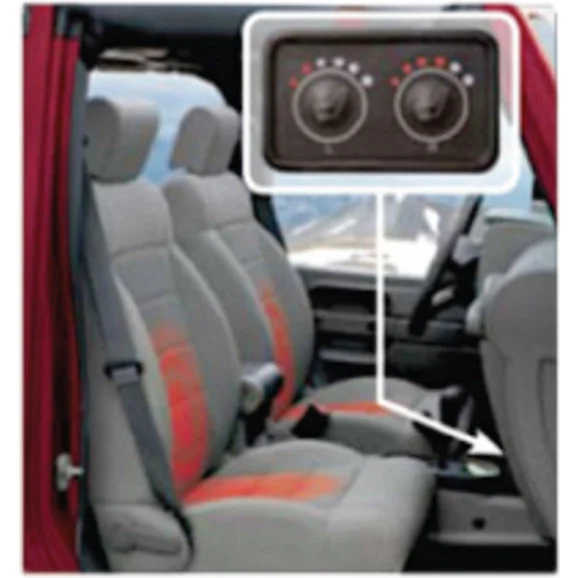
Image source: Bing (Web (fair-use with source credit))
Tracing and Cutting the Foam
Lay the heating element flat on top of the removed seat foam. Trace its outline with a fine marker. Most elements need a shallow channel cut into the foam so they sit flush and smooth.
Use a hot knife or a sharp utility knife for this task. Cut slowly and check the depth frequently. You only need to remove enough material to prevent a hard lump under the cushion.
Securing the Elements
Peel back the protective backing on the element adhesive. Carefully position the pad in the channel you just created. Press down firmly along the entire length of the pad.
Ensure the wires are oriented toward the bottom or side of the seat where they can route cleanly. Avoid stretching the elements. Keep them lying naturally flat against the foam contour.
If your seat has separate lumbar support sections or multi-density foam layers, be extra cautious. You do not want to compromise the structural integrity of the seat cushion. Secure any loose wire ends with electrical tape before reassembling the seat.
Proper preparation now guarantees a smooth finish and consistent heat distribution. Reviewing a Jeep JK C-Gusset Kits: Reinforce Your Wrangler Steering Now guide might remind you of the importance of precision in vehicle mods.
Step-by-Step Visual Guide: Wiring and Routing
Wiring connects your new components to the Jeep’s power source. The goal is a tidy, secure installation that looks OEM. Hidden wires behind trim panels protect them from trail debris and water exposure.
Running the Power Wire
Route the main power cable from the seat area toward the firewall. Use existing grommets and clip paths to keep the wire away from moving parts. Drill a small hole near the brake pedal area if necessary, but seal it afterward with a rubber grommet.
Run the wire along the kick panel trim and under the dashboard toward the fuse block. Avoid pinching the wire between metal panels.
Tapping Into Power
Locate an ignition-switched fuse slot in the interior fuse panel. Consult your owner’s manual to identify an appropriate circuit. Use a fuse tap adapter to add your circuit without disrupting existing accessories.
Install the provided in-line fuse as close to the power source as possible. This fuse protects your new wiring from shorting out. A 5-amp fuse is typically sufficient for a single heated seat circuit.
Installing the Switch
Mount the control switch in an accessible spot on the dash. Most brackets fit standard dash slots or can be adapted with trim pieces. Connect the switch wires to your harness using the provided connectors.
Double-check every connection before fully tightening the switch mounting hardware. Test the switch placement before permanently securing it.
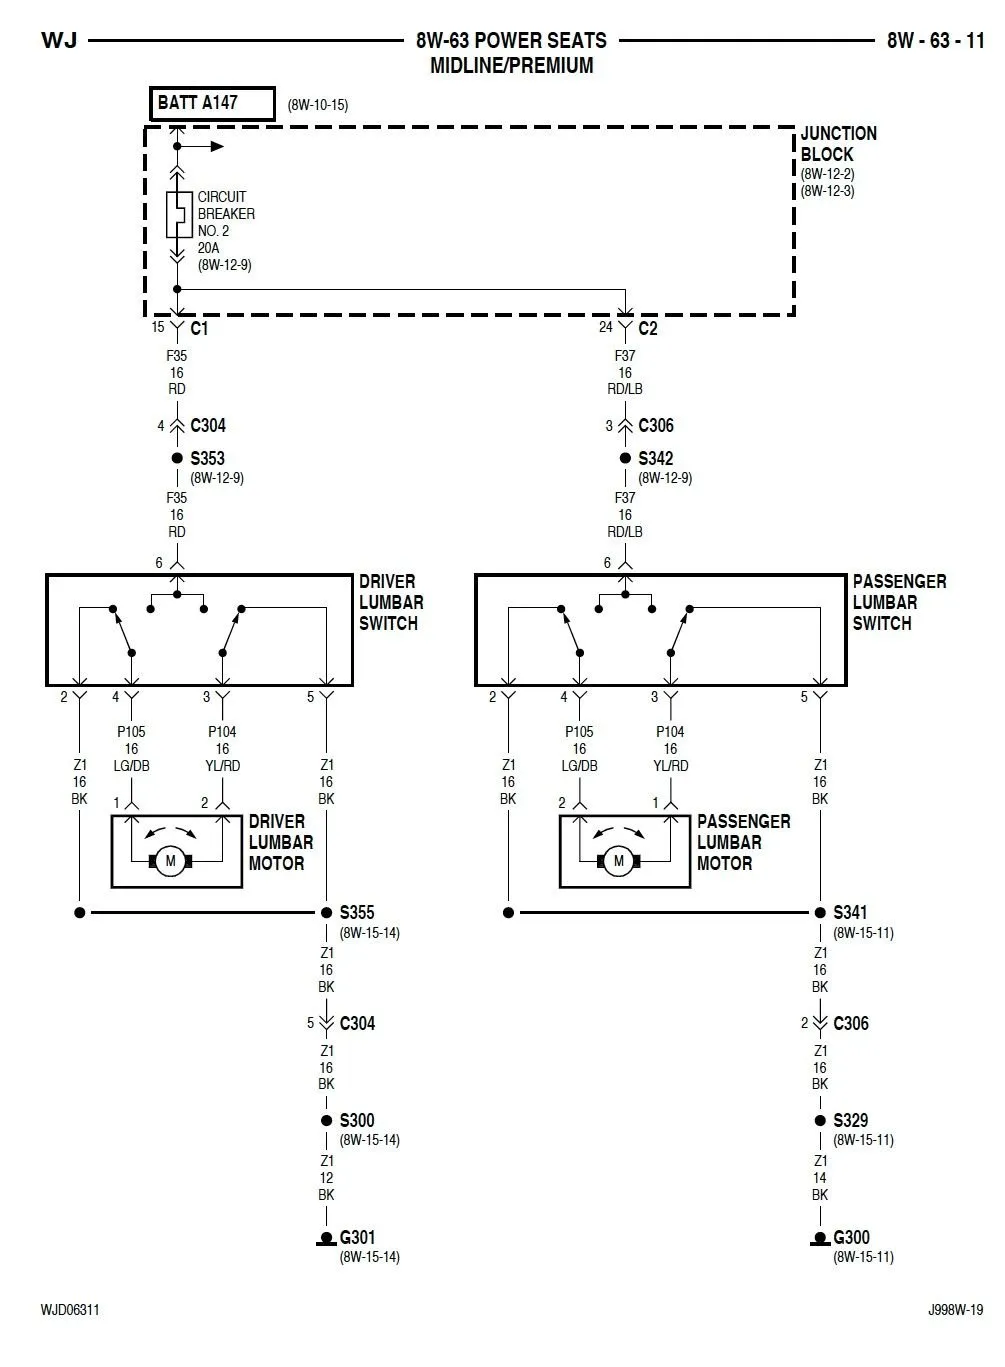
Image source: Bing (Web (fair-use with source credit))
Final Electrical Checks
Reconnect the negative battery terminal. Turn the ignition to the accessory position. Test your heated seats at all three settings.
Use a multimeter to verify that voltage drops appropriately across the different settings. Ensure no warning lights appear on your dash. If everything works, tuck your wires neatly back into place and reinstall the interior trim panels.
For those interested in other interior electronics, you might explore a Best Jeep Grand Cherokee Dome Lights: Top Picks for Brightness and Easy Installation. A clean wiring job prevents future electrical gremlins on the trail.
Where Things Go Wrong: Common JK Heated-Seat Mistakes
Even straightforward projects can go sideways if you skip key steps. Learning from common mistakes saves time, money, and headaches.
- Broken trim clips. Jeep trim panels use fragile plastic clips. Use proper removal tools instead of screwdrivers.
- Misrouted wires near airbag modules. Never route heating wires across or near airbag deployment zones. Follow factory wire paths whenever possible.
- Incorrect foam cuts. Cutting too deep weakens the seat structure. Make shallow passes and test the fit frequently.
- Loose or missing grounds. A poor ground causes flickering lights and inconsistent heat. Clean contact points and secure grounding bolts tightly.
- Undersized fuse protection. Skipping the inline fuse risks wiring fires. Always match fuse ratings to manufacturer specifications.
- Rushing the adhesive bond. Heater pads need firm pressure and time to stick. Press firmly for at least 60 seconds along the entire pad surface.
A careful installer avoids these pitfalls by working slowly and double-checking each step. Take photos during disassembly so you can reference them during reassembly. Good record-keeping pays off when you need to troubleshoot later.
Real-World Performance: Heat Output, Power Draw, and Longevity
Understanding what to expect from your heated seat kit helps you set realistic expectations. Performance varies by kit quality, seat type, and ambient temperature.
Typical Specifications
Most quality JK heated seat kits operate on 12V DC power. The heating elements typically draw between 2 and 4 amps per seat on the highest setting. This translates to roughly 24 to 48 watts per seat.
Your Jeep’s alternator handles this load without issue.
Heat-Up Time
You should feel noticeable warmth within 60 to 90 seconds of activation. The exact time depends on your starting seat temperature and the kit’s wattage. Lower settings take longer to reach their target temperature but draw less current.
Lifespan Expectations
Quality heater elements from reputable manufacturers typically last five to ten years with normal use. Factors that reduce lifespan include constant vibration on hard trails, improper foam compression, and exposure to moisture. Keeping your seats dry and avoiding excessive weight compression on the elements helps them last longer.
Aggregate reviews report that plug-and-play kits tend to fail less often than universal kits. This likely comes down to better connectors and more precise engineering for the JK platform. Budget kits may save money upfront but cost more over time due to replacements and troubleshooting.
Comparing Install Methods: Plug-and-Play Harnesses vs. Hardwire Taps
Your choice of wiring method affects difficulty, reliability, and permanence. Both approaches work, but they suit different priorities.
| Factor | Plug-and-Play Harness | Hardwire Tap Method |
|---|---|---|
| Difficulty | Easy. Direct connector match. | Moderate. Requires fuse identification. |
| Time Required | 1 to 2 hours additional | 2 to 3 hours additional |
| Reliability | High. OEM-quality connectors. | Variable. Depends on crimp quality. |
| Price Impact | Higher kit cost. | Lower kit cost, more supplies needed. |
| Reversibility | Fully reversible. No cutting. | Mostly reversible but involves drilling. |
| Best For | Owners wanting clean installation. | Budget builders comfortable with wiring. |
A plug-and-play harness taps into the existing seat connector. You simply insert the adapter between the factory plug and the seat harness. This method leaves your original wiring untouched.
It also makes removal straightforward if you ever sell the Jeep.
Hardwire tapping requires locating an ignition-switched fuse and installing an adapter tap. This method works when no factory port exists for heated seats. It also allows more flexible routing if your kit lacks a pre-made harness.
Choose the method that matches your comfort level and your vehicle’s existing configuration. For those who prefer structured guidance, reviewing a How to Install a Jeep JK Hood: Step-by-Step Guide covers similar step-by-step logic. Both projects reward patience and attention to detail.
When to Walk Away From a DIY Install
Some situations call for professional help. Knowing when to hand off the job protects your investment and your safety.
Seek professional installation if:
- Your JK has aftermarket seats with complex electronics or airbag systems.
- You are uncomfortable identifying fused ignition circuits in your fuse box.
- The seat foam is degraded, torn, or needs replacement before element installation.
- You need both front and rear seats converted and lack the time or tools.
- You encounter corrosion or damage on existing seat wiring harnesses.
Professional installers have the right tools, experience, and knowledge of Jeep electrical systems. They can also ensure compliance with relevant safety standards. While this adds to your total cost, it eliminates guesswork and reduces risk.
Consider this the same way you would evaluate a Jeep JK 25 Inch Lift: Is This Massive Lift Worth The Hype?. Some mods are fine to DIY, while others benefit from expert hands.
Maintenance and Troubleshooting Tips
A properly installed heated seat system requires minimal maintenance. Regular checks keep everything working reliably through harsh conditions.
Routine Maintenance
- Inspect exposed wiring annually for cracks or fraying.
- Check that the control switch responds consistently at all settings.
- Vacuum around seat edges to prevent debris from interfering with connections.
- Wipe adhesive areas with a mild cleaner if residue builds up.
Troubleshooting Common Issues
If your heated seat does not turn on, check the inline fuse first. A blown fuse is the most common failure point. Next, verify that the connector at the seat harness is fully seated.
Loose connections cause intermittent operation. If heat is weak or uneven, the element may have shifted under the foam. Reseating or replacing the pad often resolves this.
If you experience a burning smell, turn the system off immediately and inspect all connections. Overheating usually indicates a poor connection or a short circuit. Refer to manufacturer documentation for specific diagnostic steps.
Your kit manual should include a wiring diagram and troubleshooting flowchart.
For related interior upgrades, check out Best Jeep JK Hoods: Upgrade Your Wrangler 2026. Both improvements enhance your vehicle’s functionality and comfort. Keeping your mods in good shape ensures they serve you well on every trail season.
FAQs: Heated Seats for Jeep JK Owners
Can I install heated seats in a Jeep JK without cutting any wires?
Yes, if you choose a plug-and-play harness kit. These adapters connect between your factory seat connector and the seat wiring. You avoid cutting or splicing any original wires.
This method preserves your factory wiring and makes future removal straightforward.
Do heated seats drain my Jeep’s battery when the engine is off?
No, not significantly. Heated seats only draw power when the switch is turned on. With the engine off and the switch in the off position, there is zero draw.
Even if left accidentally on, the draw is low enough that it would take many hours to noticeably drain a healthy battery.
Can I install heated seats in aftermarket upholstery like Katzkin leather?
Yes, most heated seat kits work with aftermarket upholstery. The heating elements are thin enough to fit under most synthetic leathers and fabrics. Ensure the upholstery installer leaves room for the element thickness when stitching the seat covers.
How much does a professional installation cost?
Professional installation typically runs between $200 and $500 per seat depending on the shop and kit complexity. Total costs including parts and labor usually fall between $400 and $900 for both front seats. Rates vary by region and shop reputation.
Will heated seats interfere with my Jeep’s airbag system?
They can if installed incorrectly. Never route wires across airbag deployment paths or cover airbag sensors. Always disconnect the battery before working near seat-mounted airbag components.
Proper installation following manufacturer instructions avoids any interference.
Do heated seats work with Jeep JK sunroofs and open-air driving?
Yes, heated seats work independently of your roof configuration. They provide warmth even with the doors and roof removed. This makes them especially valuable for open-air trail driving in cold weather when the cabin heater cannot reach you effectively.
Final Recommendation: Which Kit and Method Fits Your JK Best?
Your best choice depends on three factors: your budget, your comfort with wiring, and how clean you want the final result to look.
If you value a clean OEM look and want to avoid cutting wires, invest in a plug-and-play harness kit designed specifically for the Jeep JK. The extra cost pays for itself in simplified installation and preserved factory wiring. This is the route most builders recommend for a stock or near-stock JK.
If you are on a tighter budget and do not mind some custom routing, a quality universal kit with a hardwire tap setup works well. Just be meticulous about fuse selection, wire gauge, and connection security. A sloppy install here creates reliability problems down the road.
Before starting any electrical project, make sure your Jeep has solid mechanical fundamentals. Upgrading something like your Jeep Gladiator Mopar Brake Controller: Safe Towing Made Easy setup or checking a Jeep Gas Door: Fix Stuck Latches, Replace Parts & Stop Leaks demonstrates the same principle: address the foundation before adding features.
For owners interested in comprehensive cold-weather readiness, explore a full Jeep Heated Seat: The Ultimate Cold Weather Drive Upgrade resource. It covers considerations beyond just the seats, including cabin insulation and warming strategies. Pair this with proper tire choices and Best Jeep Grizzly Locker: Top Picks for Traction and Durability solutions for a truly capable winter build.
This upgrade is one of the most impactful comfort improvements you can make for a JK. The warmth it provides changes how you experience every trail trip. You will find yourself heading out earlier in the season and staying out longer.
Plan your install carefully, follow safety procedures, and enjoy the difference a few degrees of seat warmth makes.