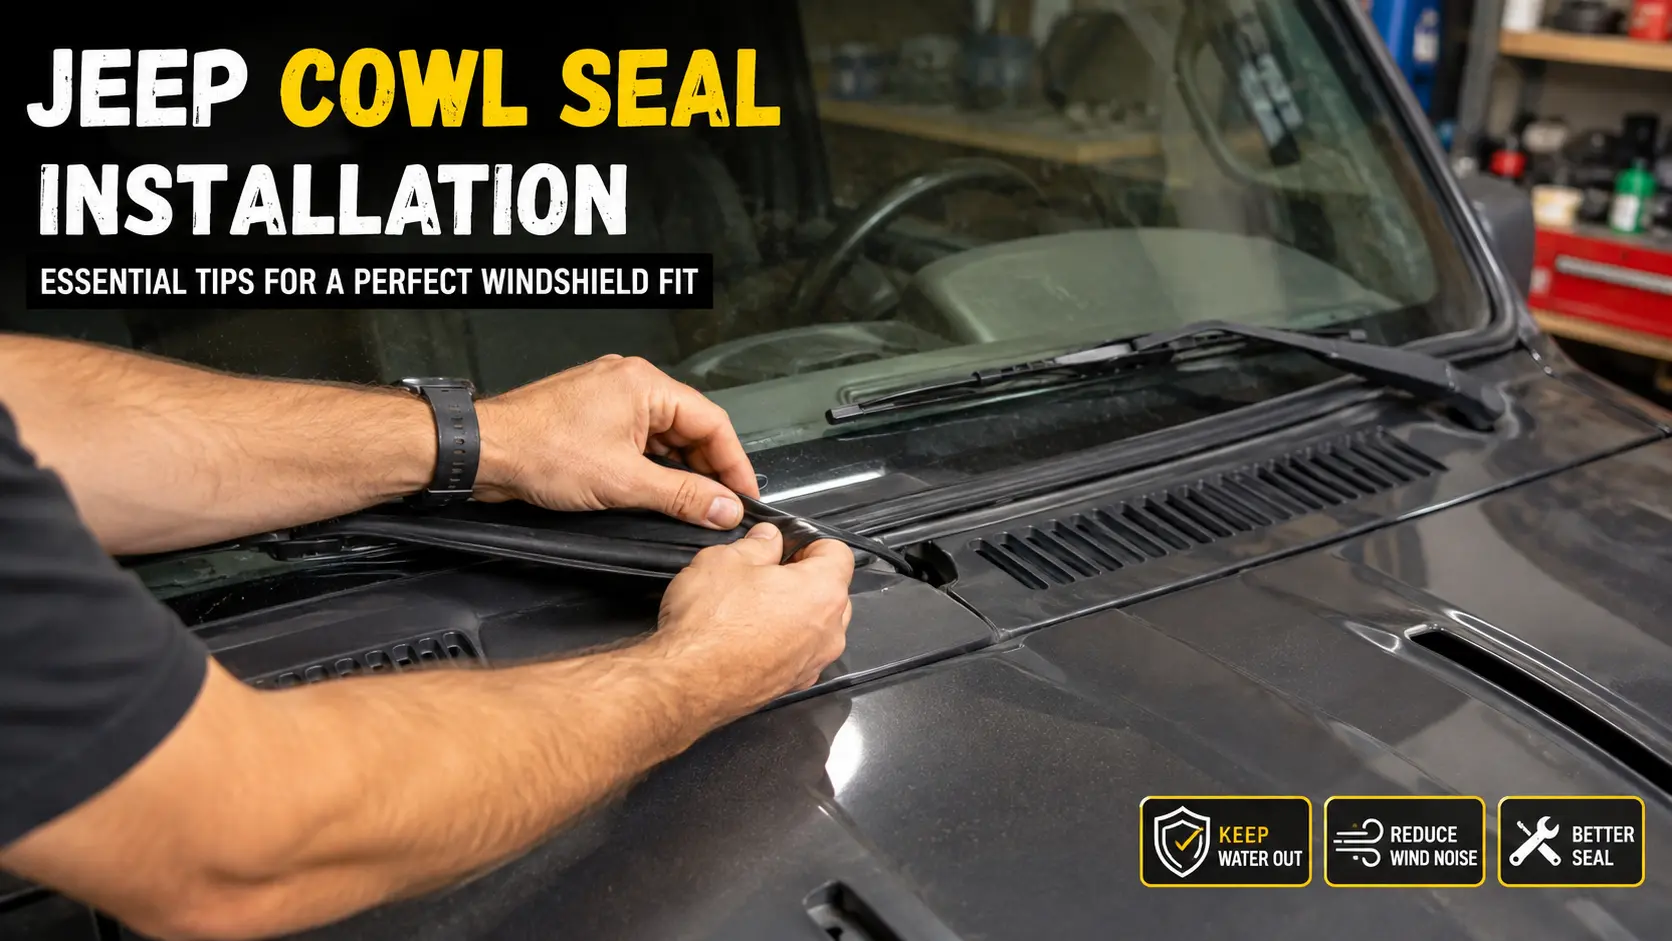
The rubber gasket between your Jeep’s windshield frame and cowl is one of those parts you never think about—until it starts leaking. If you’ve noticed water pooling on your floorboards after a rainstorm, heard an annoying whistling sound at highway speeds, or felt drafts creeping into the cabin, your cowl seal is likely past its prime.
The good news? Replacing it is a straightforward DIY job that any Jeep owner can tackle with basic tools and a little patience. The bad news? Getting it right the first time takes more than just slapping on a new piece of rubber.
This guide walks you through everything you need to know about Jeep cowl seal installation, from choosing the right replacement part to ensuring a watertight seal that will keep your cabin dry for years to come.
Why Your Cowl Seal Matters More Than You Think
That strip of rubber running along the bottom of your windshield does serious work. It keeps rainwater, road spray, and dust from entering the cabin through the gap between the windshield frame and the cowl panel. When it fails, water can find its way onto your dash, down the firewall, and straight onto your floors.
There’s another hidden cost: water intrusion accelerates rust in the windshield frame itself. Once rust takes hold at the bottom of the frame, repairs get expensive fast. Many Jeepers never fold down their windshield specifically because they fear breaking the seal. But with the right installation techniques, you can fold it down confidently without compromising the seal.
Choosing the Right Replacement Seal
Before you order a new cowl seal, understand that not all replacement parts are created equal.
OEM (Mopar) seals consistently deliver the best fit. The rubber density and dimensions match factory specifications precisely. Many owners report that aftermarket seals are made from foamier, thinner material that doesn’t seal as effectively. While OEM seals cost more roughly $37–40 compared to $15 for aftermarket options the price difference is worth it for proper fit.
If you can’t find an original Mopar seal (they’re getting harder to source), Fairchild Industries makes a close second. One owner noted that after trying multiple brands, “nothing but the OEM ones make me happy”. For 1987–1995 YJ models, the Mopar part number is 55175778.
For TJ models (1997–2006), the OMIX-ADA replacement (55174640AE) has been reported as better quality than Crown alternatives.
Read reviews carefully when shopping online. Many listings claim to be “original equipment type” or “original equipment style” without actually being OEM. Amazon reviews can help separate quality parts from cheap knockoffs.
Tools and Materials You’ll Need
Gather everything before you start. Running to the hardware store mid-project with your windshield folded down is nobody’s idea of a good time.
Tools:
- T40 Torx socket for roll bar bolts
- T15 Torx driver
- Flat-head screwdriver
- Phillips head screwdriver
- Hand-held impact driver (critical for breaking Loctite on factory bolts)
- Plastic trim removal tool
- Ratchet straps (2)
- Safety glasses
- Wheel chocks
Materials:
- New cowl seal (correct for your year and model)
- Penetrating oil (WD-40, Deep Creep, or similar)
- Isopropyl alcohol or mild detailing spray
- Microfiber cloths
- RTV silicone sealant
- Weatherstrip tape or double-sided tape
- Painter’s tape
Preparation: The Week Before Installation
Start early. Your windshield hinges may not have moved in years, and forcing them can lead to broken bolts or damaged hinges.
Spray penetrating oil into the windshield frame hinges a week ahead of time. Work the oil in by gently trying to move the frame. Repeat this process daily. By installation day, the hinges should move freely.
If your replacement seal arrived coiled in a box (most do), lay it flat in a warm area overnight before installation. This lets the rubber relax back to its proper shape. Hanging it near a water heater works well. A warm seal is much easier to work with than one fighting its shipping memory.
Step-by-Step Installation Guide
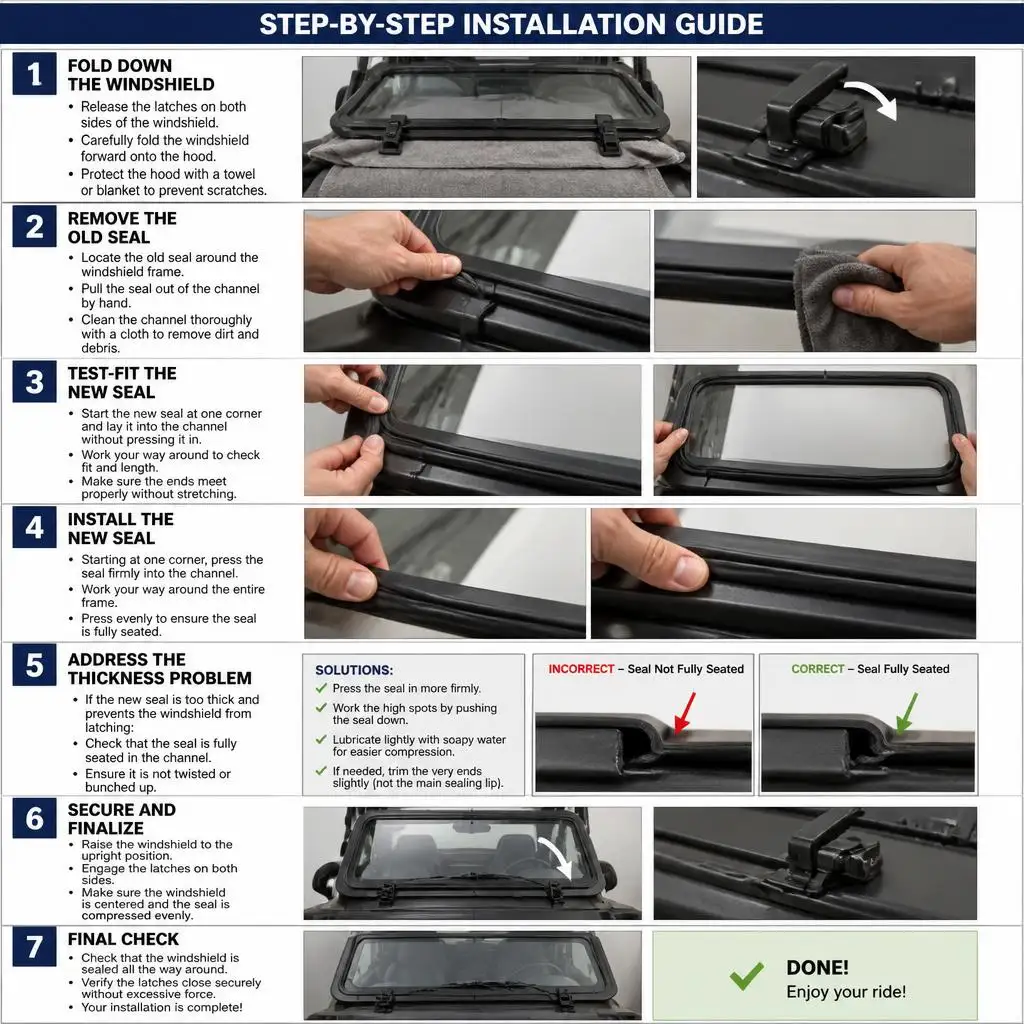
Step 1: Fold Down the Windshield
Remove the sun visors (four Torx screws). Loosen and remove the roll bar Torx bolts at the top of the windshield. Remove the lowest Torx bolt on the inside base of the windshield.
When removing the roll bar strut bolts, use the proper-sized Torx bit and a hand-held impact driver. The factory applies thread locker (Loctite) to all Torx head bolts. The impact driver’s shock and twisting motion breaks the Loctite bond. Using the wrong size bit will strip the bolt head and turn a simple job into a nightmare.
Fold the windshield forward onto the hood. If it won’t move, apply more penetrating oil and wait.
Step 2: Remove the Old Seal
The old seal is held in place by several flathead screws along the bottom of the windshield frame. Remove these screws and carefully peel away the old rubber.
This is the most important cleaning step of the entire job. Old RTV silicone and degraded rubber residue must be completely removed. If you leave any debris behind, the new seal won’t seat properly.
Most old silicone comes off in long strips with a little persuasion from your thumbnail. For stubborn bits, carefully use a hobby knife to cut it off in layers, then scrub the remnants with a mild detailing spray. Clean both mating surfaces with isopropyl alcohol.
Step 3: Test-Fit the New Seal
Before installing any screws, test-fit the new seal against the windshield frame. Check that the pre-drilled holes in the rubber line up with the screw holes in the frame.
If they don’t align perfectly (a common issue with aftermarket seals), mark the correct positions and drill new holes.
Pay attention to orientation. The lower lip of the seal should sit slightly away from the top of the cowl panel. If you install it upside down, the seal won’t function properly.
Some seals come longer than needed. If yours is too long, trim the ends evenly. A hose or tubing cutter with a long razor blade makes clean cuts.
Step 4: Install the New Seal
Begin by installing the seal from the middle outward. Start all the screws loosely before tightening any of them. This gives you room to adjust the seal’s position and ensure it sits flat against the frame.
Don’t overtighten the screws. Doing so can pucker the rubber and create gaps where water can enter.
Critical tip: Use weatherstrip tape or good double-sided tape to seal the outer lip of the seal to the front of the windshield frame. The factory does this, and it prevents the seal from working its way outward over time.
Step 5: Address the Thickness Problem
Here’s the reality: your new seal is thicker than the old, compressed one. When you try to fold the windshield back up, the spreader bars may not reach the roll bar mounting points.
You have two options:
Option 1: Ratchet straps. Attach ratchet straps from the windshield frame to the roll bar and slowly pull the frame back into position. Pull gradually over time maybe a couple of days to let the seal deform and flatten. In cold climates, apply gentle heat to the seal before adding more pressure.
Option 2: The long bolt method. Replace the factory bolts with longer hardware (5/16-18 x 4″ bolts with nuts and washers). Use the nuts to gradually pull the windshield frame back into alignment, then replace with factory bolts once everything lines up.
Whichever method you choose, don’t force anything. Work slowly and patiently.
Step 6: Secure and Finalize
Once the windshield is back in position, tighten all spreader bar bolts. Check that the seal sits evenly across the entire width of the windshield. If one side has more compression than the other, loosen the lower hinge bolts and adjust until the pressure is even.
Run a small bead of RTV silicone along the outside edge of the seal for extra insurance against leaks. This is especially important if you live in a rainy climate or your Jeep sees regular off-road use.
Pro Tips for a Perfect Fit
Soak hinges early. Start the penetrating oil treatment a full week before installation. Your future self will thank you.
Let the seal relax. Uncoil it and let it sit flat in a warm place overnight. Warm rubber installs much more easily.
Install from the center out. Screw the seal from the middle toward each end. This prevents bunching and ensures even distribution.
Use tape. Double-sided tape along the outer lip replicates the factory installation method and prevents the seal from shifting.
Have help. Having someone pull tension on the windshield frame while you tighten bolts makes the job significantly easier.
Be patient. If the windshield won’t close fully, don’t force it. Use ratchet straps and give the seal time to compress.
Troubleshooting Common Problems
“I installed the new seal but water still leaks.”
First, check that you installed the seal right-side up. The lower lip should sit slightly away from the cowl panel. If it’s upside down, water will find its way through.
If the orientation is correct, the issue may be insufficient compression. Try adjusting the windshield hinges to put more pressure on the seal. Water can also enter through the hinge mounting points themselves a bead of silicone around the hinge bolts can solve this.
“The seal keeps pushing outward at the front.”
This happens when the screw holes aren’t positioned correctly. You can move the screw holes forward so the excess rubber sits inside the frame rather than pushing out. Alternatively, applying double-sided tape along the outer lip will hold the seal in place.
“My windshield won’t close at all.”
New seals are thick and uncompressed. Use ratchet straps to slowly pull the frame back over time. If you’re in a hurry, the long bolt method gives you precise control over the closing process.
“I still hear wind noise at speed.”
Check for gaps where the seal meets the frame. Loosen the hinge bolts and adjust the frame position until compression is even across the entire seal. Tighten everything back down and test again.
Final Thoughts About Jeep Cowl Seal Installation
A proper cowl seal installation transforms your Jeep’s cabin from a leaky, drafty space into a dry, comfortable environment. The job takes patience especially when dealing with a thick new seal and stubborn old hardware but the results are worth the effort.
Remember the golden rules: start with penetrating oil a week early, clean all surfaces thoroughly, install from the center outward, and don’t rush the final closure. Whether you use ratchet straps or the long bolt method, take your time and let the seal settle into its new home.
With these tips in hand, you’re ready to tackle the job with confidence. Your Jeep and your dry floorboards will thank you.